
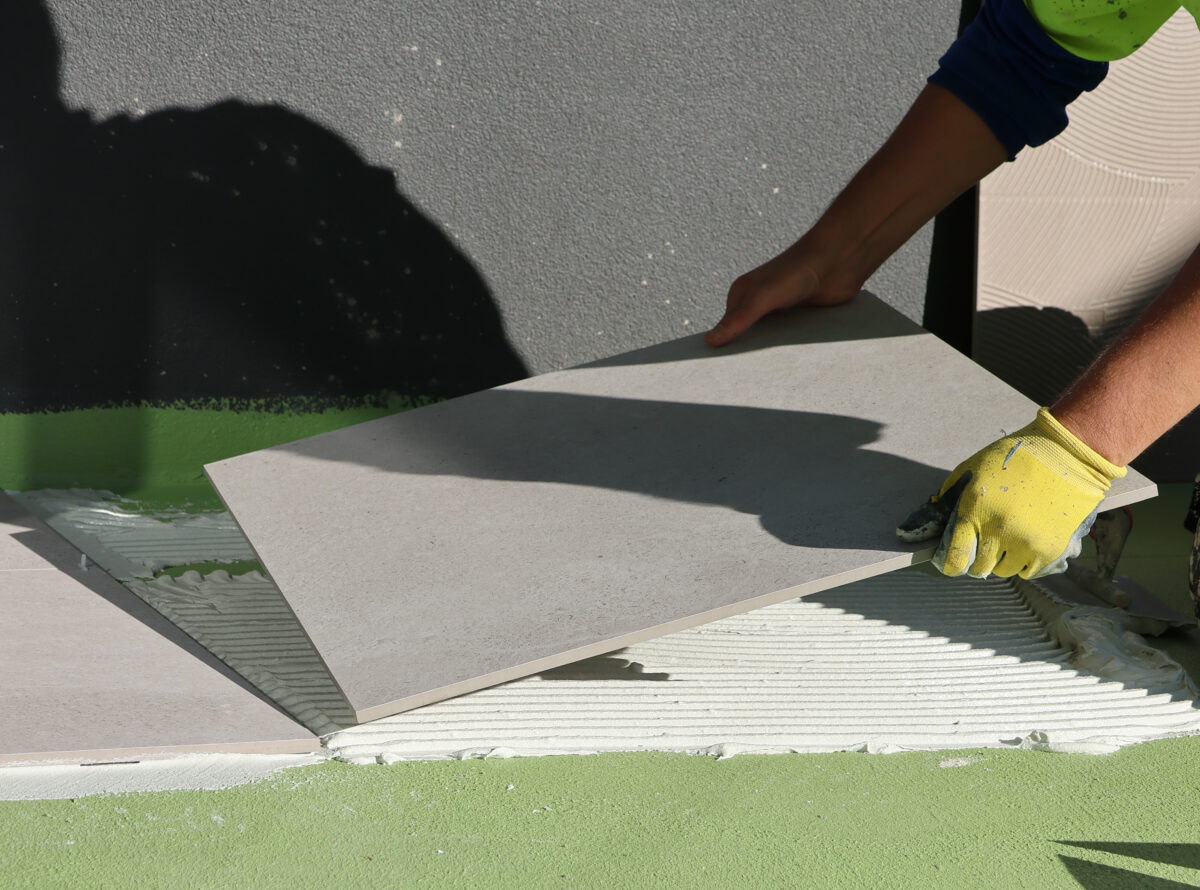
A professional tiling project is more than placing tiles neatly on a wall or floor. The final finish matters, but the result depends heavily on the steps completed before the tiles are installed. Good preparation, correct waterproofing where required, careful layout planning and controlled finishing all help the tiled area perform properly over time.
For homeowners, understanding the tiling installation process can make the job feel clearer and less uncertain. It also helps you ask better questions, compare quotes more confidently and know what to expect once work begins.
Below is a practical guide to how a professional tiling project works, from the first site assessment through to grouting, silicone, curing times and aftercare.
1. Site Assessment and Planning
Every good tiling project starts with understanding the area, the surface and the scope of work. This includes checking the size of the space, the type of substrate, access, existing tile condition, drainage points, movement joints, falls, waterproofing needs and the tile type being installed.
This step matters because tiling requirements change depending on the room, surface and intended use. A bathroom floor has different requirements to a kitchen splashback, an outdoor area or a commercial floor. The condition of the surface also affects what preparation is needed before installation can begin.
A professional assessment helps identify risks early, such as uneven surfaces, cracked existing tiles, water damage, loose substrates or signs the existing tiled area may need to be replaced more broadly rather than patched in one section. It also gives the tiling company the information needed to plan materials, timing and the correct sequence of work.
2. Surface Preparation
Surface preparation is one of the most important stages of a professional tiling process. Tiles need a suitable, clean, stable and level surface so the adhesive can bond correctly and the finished area can hold up under normal use.
Depending on the project, surface preparation may include removing old tiles, cleaning dust and residue, repairing damaged areas, levelling uneven sections, checking floor falls, priming the substrate or preparing sheeting and surfaces for wet-area work.
This is also where shortcuts can cause problems later. If tiles are laid over a surface that is not properly prepared, the result may look acceptable at first but can lead to hollow tiles, cracking, failed grout, water issues or premature failure. Proper preparation is not the most visible part of the job, but it is one of the parts that protects the result.
3. Waterproofing and WA Wet-Area Requirements
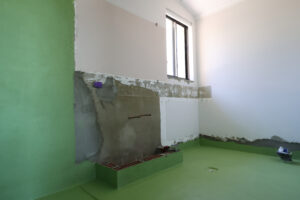
In wet areas such as bathrooms, showers and laundries, waterproofing is a critical part of the process. Tiles and grout are not a complete waterproofing system on their own. The waterproofing layer beneath the tiles helps protect the structure of the home from moisture damage.
In Western Australia, wet-area construction must comply with the National Construction Code (NCC), the relevant Australian Standards and manufacturers’ installation requirements. For domestic wet areas, AS 3740 is the key standard for waterproofing. WA Building and Energy guidance also makes it clear that wet areas must be constructed to prevent water from penetrating behind fittings and linings or into concealed spaces.
The exact extent of waterproofing depends on the room, substrate, shower type, floor waste, doorways, penetrations and product system. In some situations, this can include waterproofing beyond the shower area, using waterstops at doorways, correctly connecting membranes to drainage flanges, and treating corners, joints and wall-to-floor junctions.
The area also needs to be prepared correctly before the membrane is applied. This includes clean, dust-free substrates, repaired imperfections where needed, suitable priming for porous surfaces, compatible sealants and adhesives, and enough curing time before tiling begins.
A professional tiling project should allow enough time for this stage. Rushing waterproofing or tiling over it too early can increase risk. For homeowners, this is one of the clearest signs that the job is being managed with care rather than speed alone.
4. Tile Layout and Planning
Before tiles are fixed in place, the layout should be planned. This includes checking where cuts will fall, how feature tiles or patterns will line up, where grout joints will sit, and how the layout works around drains, niches, corners, doorways, cabinetry or other fixed points.
Good tile layout planning helps avoid awkward slivers of tile, uneven visual lines or poorly placed cuts in obvious areas. It is especially important for large-format tiles, patterned tiles, mosaics, herringbone layouts and areas with visible sightlines.
The aim is not only to make the finish look neat. It is to make sure the layout is practical, balanced and suited to the room. This is where experience matters, because small planning decisions can make a noticeable difference to the final result.
5. Tile Installation
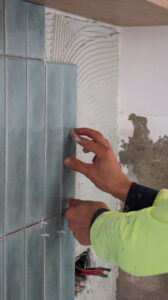
Once the surface is ready and the layout is confirmed, tile installation can begin. The tiling team applies the correct adhesive for the tile, substrate and project conditions, then places the tiles with consistent spacing and alignment.
During installation, the tiling team will work section by section, checking levels, lines, coverage, cuts and joint consistency as the job progresses. On floors, the team may also need to manage falls toward drains or ensure the surface remains suitable for the way the area will be used.
This stage is where workmanship becomes visible, but it still relies on everything that came before it. A clean finish is easier to achieve when the substrate has been prepared properly and the tile layout has been planned before adhesive is applied.
6. Grouting
After the adhesive has had suitable time to set, the grout can be applied. Grout fills the joints between tiles and contributes to the overall finish of the tiled area. The right grout choice depends on the tile type, joint size, room conditions and maintenance expectations.
Grouting needs to be done cleanly and evenly. Excess grout is removed from the tile surface, joints are finished consistently, and the area is cleaned down carefully. Good grouting supports the final appearance and helps the tiled area remain easier to maintain.
7. Silicone and Finishing
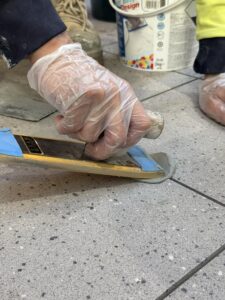
Silicone is usually applied to movement areas, changes of plane and junctions such as wall-to-floor corners, internal corners, benches, baths, vanities or shower screens where required. This material is flexible, which makes it more suitable than rigid grout in areas where slight movement can occur.
Finishing may also include trims, edge details, final cleaning and checking the tiled area for consistency. This stage is about completing the job neatly and making sure the details support the overall finish.
8. Curing Times and Aftercare
A tiled area often needs time before it is ready for normal use. Adhesives, grout, waterproofing membranes and silicone all have curing requirements, and these can vary depending on the product, conditions and area being tiled.
Your tiling company should explain when the area can be walked on, cleaned, used as a wet area or returned to normal use. Following aftercare instructions is important because using the area too early can affect the finish or performance of the materials.
Good aftercare is usually simple: allow the right curing time, clean with suitable products, avoid harsh treatment early on, and keep an eye on grout and silicone over time as part of normal home maintenance.
What Homeowners Should Expect From a Professional Tiling Process
A professional tiling project should feel organised, not rushed. You should have a clear understanding of the work being done, the order of the main stages, any preparation required, and the timing around waterproofing, installation, grouting and use of the area.
Clear communication is part of doing the job properly. If an issue is found during preparation, such as damaged surfaces, water problems or uneven areas, it should be explained before the work continues. This helps avoid surprises and supports a better long-term result.
At Gun Tiling, we focus on professional tiling work carried out with the right process, careful preparation and clear communication from start to finish. Whether it is a bathroom renovation, kitchen splashback, laundry, floor tiling or commercial project, the goal is the same: a tiled finish that is done properly and with care.
Frequently Asked Questions
How long does a professional tiling project take?
The timing depends on the size of the area, the condition of the surface, whether old tiles need to be removed, whether waterproofing is required, the tile type and the complexity of the layout. A small splashback may be much quicker than a bathroom, wet area or large floor. A professional quote should outline the scope of work and the proposed process, while timeframes are typically discussed once the project has been assessed and the details have been confirmed.
Why is surface preparation so important before tiling?
Surface preparation helps create a stable, clean and suitable base for the tiles. If the surface is uneven, dusty, damaged or not properly prepared, tiles may not bond correctly and problems can appear later, including cracking, hollow spots or grout failure.
Do all professional tiling projects need waterproofing?
No. Not every tiled area needs the same waterproofing system. In WA, wet areas such as bathrooms, showers, laundries and sanitary compartments need to satisfy the NCC requirements, with relevant waterproof or water-resistant areas treated in line with AS 3740, approved documentation and manufacturer specifications. Dry areas such as some splashbacks or internal floors may not require the same waterproofing system, but they still need proper preparation.
Can tiles be installed straight after waterproofing?
Usually, the waterproofing membrane needs time to cure before tiling begins. The exact timing depends on the products used and site conditions. Allowing the correct curing time is part of a proper installation process.
When can I use a tiled area after installation?
This depends on the adhesive, grout, silicone, waterproofing and the area being tiled. Your tiling company should provide practical guidance on when the area can be walked on, cleaned, used as a shower or returned to normal use.
What makes a tiling job professional?
A professional tiling job is not only judged by how the finished tiles look. It also depends on planning, preparation, waterproofing where required, correct installation, clean grouting, suitable silicone, clear communication and enough time for materials to cure properly.
Key Takeaways
The best tiling results come from a complete process, not a rushed installation. Site assessment, preparation, waterproofing, layout planning, installation, grouting, silicone and aftercare all play a role in the finished result.
If you are planning a tiling project in Perth, it is worth choosing a team that explains the process clearly and takes the time to prepare the job properly. That is what gives you confidence in both the experience and the result.
For professional tiling work across Perth homes, renovations and commercial spaces, Gun Tiling can help you understand what is required and carry out the work with care from preparation through to final installation.


