Updating your home with new tiles is an exciting and rewarding experience. It’s a chance to create a fresh look and breathe new life into your space. However, while tiling may seem straightforward, even small mistakes can lead to costly and frustrating issues down the line.
The good news? With the right preparation and professional expertise, you can avoid these common pitfalls. That’s why we’ve created this guide—to help you sidestep tiling mistakes and understand how trusting experts like Gun Tiling can make all the difference.
1. Poor Surface Preparation (and Ignoring Manufacturer Instructions!)
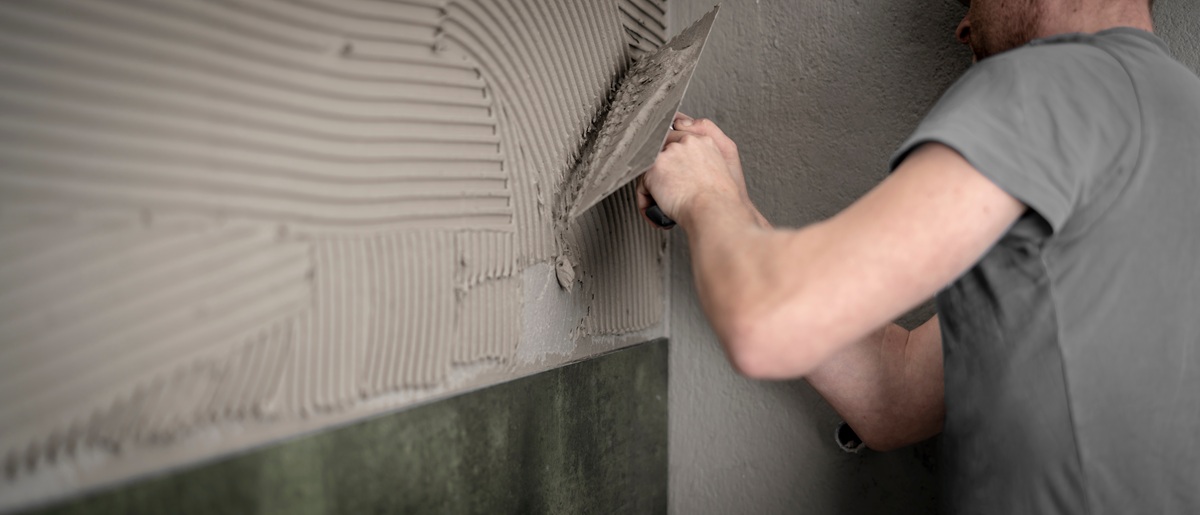
Good tiling starts with good preparation. Skipping or rushing this step can lead to cracked tiles, loose grout, and an overall subpar finish. Proper preparation ensures a strong foundation, keeping your tiles secure for years to come.
One of the biggest mistakes we see? People are not reading the manufacturer’s instructions. We get it—watching a 60-second TikTok makes it seem easy, but trust us, those instructions are far more important than a DIY hack. Every adhesive, grout, and tile product has specific guidelines to ensure longevity and durability.
Here’s how you can avoid this common tiling mistake:
- Thoroughly clean your surface before laying tiles. Dust, grease, or old adhesive can prevent tiles from adhering properly.
- Ensure the substrate has cured and is level before beginning. Uneven surfaces can cause tiles to shift and crack over time.
- Read the manufacturer’s instructions for all products used, including adhesives, primers, and waterproofing materials.
- Leave it to the professionals— Gun Tiling ensures all surfaces are properly prepared, so you get a flawless, lasting finish.
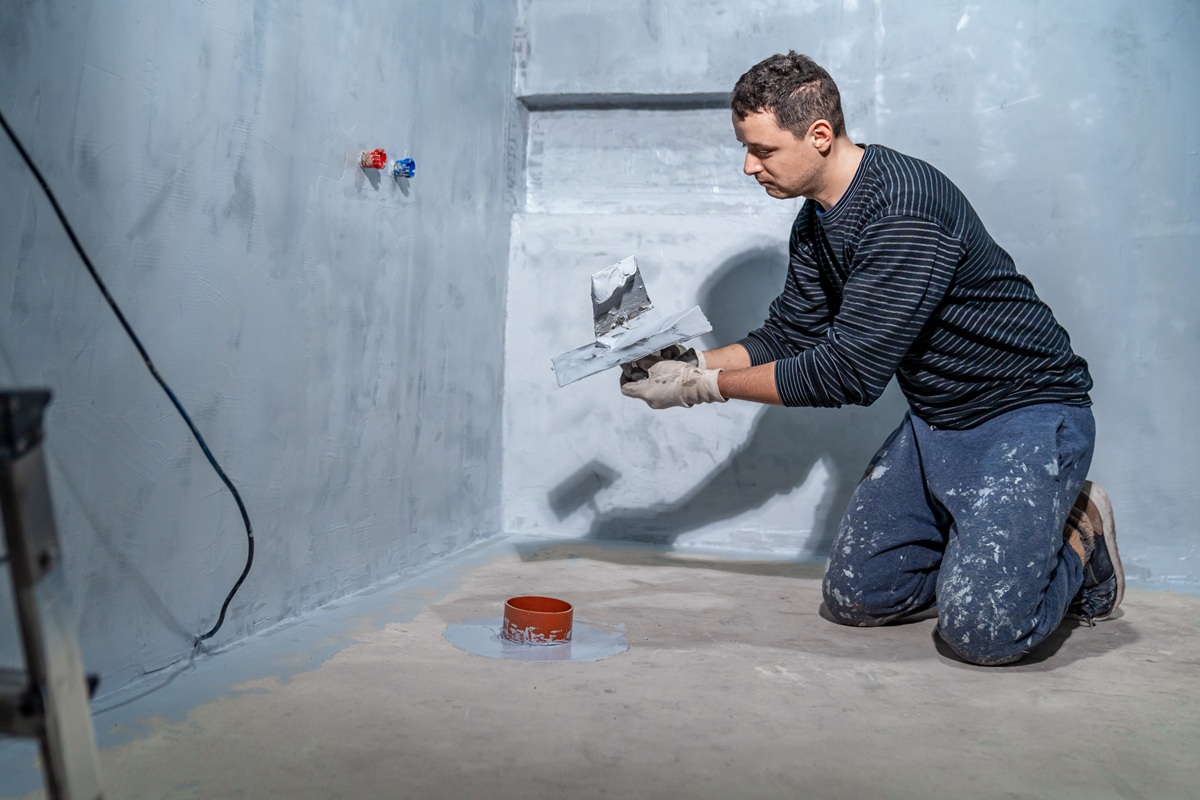
2. Using the Incorrect Primer
Primer might seem like a minor part of your tiling project, but it plays a major role in making sure everything holds together long-term. It’s a liquid solution that’s applied to your surface (the substrate) before the adhesive, designed to create the ideal foundation for your tiles.
Primers do a few essential things:
- Seal porous surfaces to stop them from soaking up too much moisture
- Promote proper adhesion between the tile adhesive and the surface
- Help the adhesive cure correctly, avoiding weak spots
The catch? Not all primers are the same—and using the wrong one (or skipping it altogether) can lead to serious problems.
Here’s what can go wrong:
- On walls, poor moisture control can cause tiles to pop off over time
- On green concrete floors, adhesive might not cure properly, resulting in a weak bond
- Large-format tiles can end up drummy or hollow-sounding, increasing the risk of cracking
Why choosing the right primer matters:
- Porous surfaces like render, screed and plasterboard need a penetrating primer to control moisture absorption
- Non-porous surfaces such as cement sheeting or steel-trowelled concrete need a bonding primer to ensure the adhesive sticks properly
Applying primer might seem like a small step, but it’s one that ensures your tiles actually stay put. If you’re unsure which primer suits your surface, the team at Gun Tiling can point you in the right direction.
3. Skipping Waterproofing
For wet areas like bathrooms and non-ground-floor wet areas, waterproofing is non-negotiable. Without it, water can seep through grout and under tiles, leading to mould growth, rotting timber, and even structural damage. Repairs for these issues can easily run into the thousands.
To avoid this:
- Apply a high-quality waterproofing membrane before tiling in wet areas.
- Ensure complete coverage, including corners, wall joints, and areas where different materials meet.
- Consult professionals if you’re unsure—Gun Tiling has extensive experience in waterproofing, ensuring your surfaces remain protected from moisture damage
4. Using the Wrong Type of Grout
Grout isn’t just about aesthetics—it plays a key role in keeping your tiles secure and preventing moisture damage. Using the wrong type of grout (or skipping it entirely) can lead to cracking, staining, and even tile displacement.
To prevent grout-related issues:
- Choose the right grout for your tile material and gap size. Sanded grout is great for larger gaps, while unsanded grout works well for finer joints but may not hold up in high-traffic areas.
- Check grout consistency before application—too thick or too runny can lead to uneven distribution, colour changes, and weak bonds
5. Forgetting expansion joints
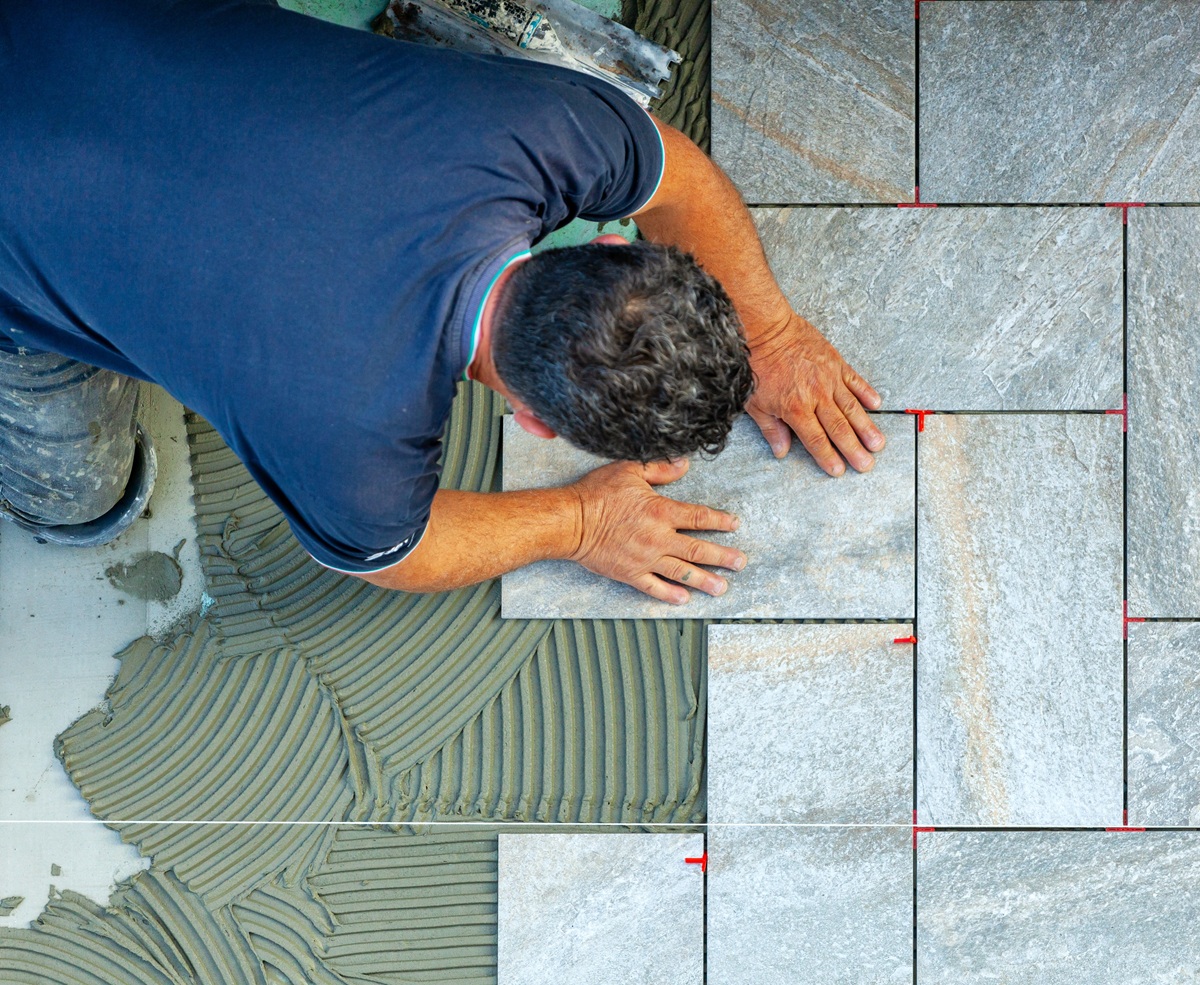
Like all building materials, tiles naturally expand and contract due to temperature and humidity changes. Expansion joints allow for movement and prevent tiles from cracking, lifting, or breaking loose.
To get it right:
- Cut tiles with a suitable joint to the edges of the room where tiles meet the wall or other hard surfaces, approximately 3mm.
- Fill expansion joints with flexible sealant to absorb movement and prevent stress on tiles.
Get the best out of your tiling with professional help
A tiling mistake can cost you more than just money—it can cause stress, inconvenience, and long-term issues. At Gun Tiling, we ensure your tiling project is completed correctly right from the start, so you can avoid costly repairs and enjoy a seamless finish.
From top-notch bathroom tiling to detailed tile repairs, waterproofing, and regrouting, we’ve got all your tiling needs covered. Reach out to Gun Tiling today for expert advice and a free quote—and let us do the heavy lifting while you enjoy flawless, long-lasting results.


